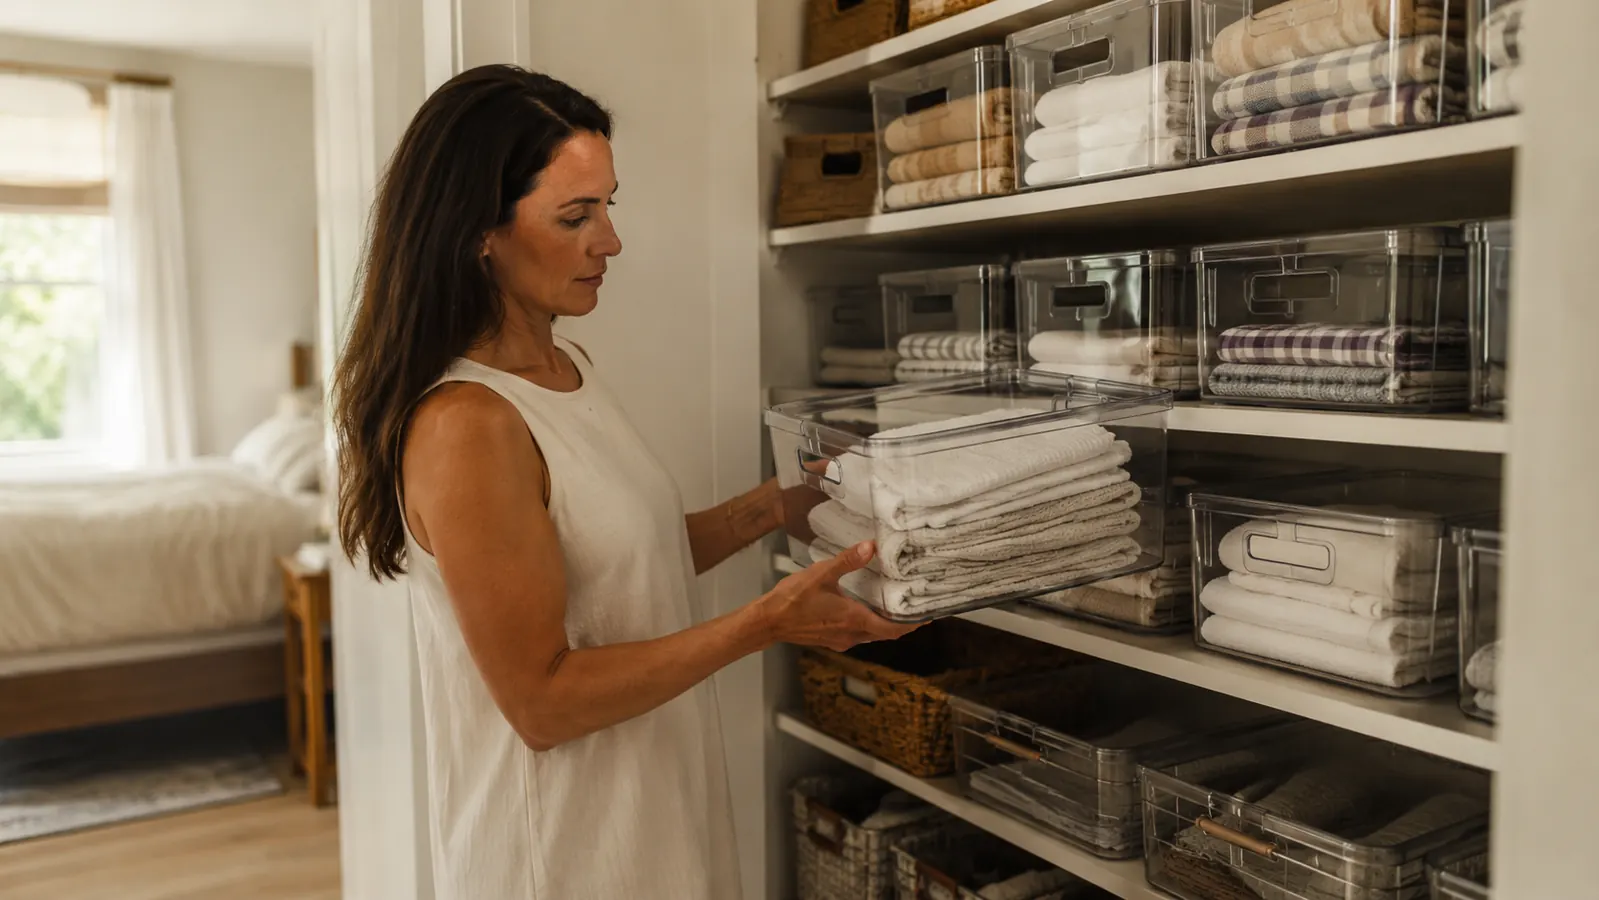
I have been walking into strangers' closets for fifteen years. Some were tidy rooms that just needed a tweak. Most were the kind where you open the door, something falls on your foot, and you quietly close it again and pretend the problem does not exist. What I have learned is that the real issue is almost never the amount of stuff. It is the absence of a container system that matches how the person actually uses the space. When I find stackable storage bins that fit the shelves and the contents, everything else falls into place. The IRIS USA 54-Qt stackable storage bins are the ones I reach for most often on client jobs, because they stack without wobbling, seal out dust, and let you see what is inside without pulling everything off the shelf.
This guide is the exact method I follow on every closet project, whether it is a narrow reach-in hall closet or a full walk-in. Five steps, done in order. I will tell you what to skip if you are short on time and where the real payoff is. If you have been meaning to tackle the closet for months and keep putting it off, this is the place to start.
The bins that actually stack without wobbling and seal out dust
IRIS USA's 54-Qt clear bins are what I use on professional jobs. They come in a 6-pack, fit standard closet shelves, and the lids click on firmly enough that stacking three high stays stable. Clear walls mean you find what you stored.
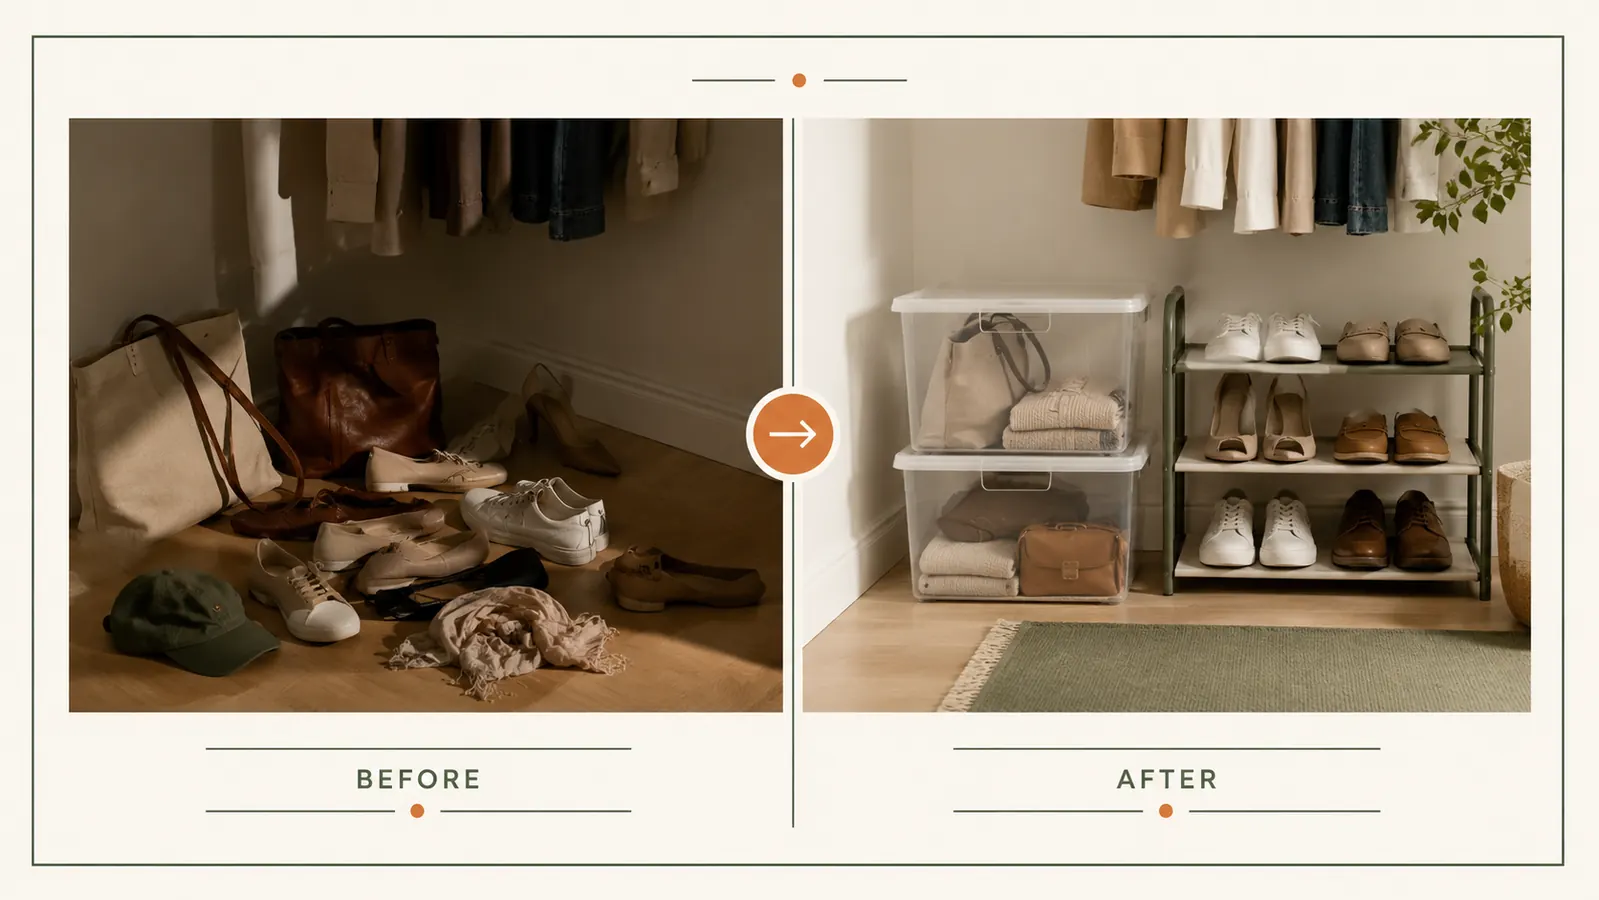
Amazon Check Today's Price on Amazon →Step 1: Empty the Closet Completely and Sort on the Floor
The step everyone skips is a full empty-out, and it is the most important one. Partial organizing is why closets go back to chaos within a month. You are not moving things around. You are starting from zero. Pull everything out and put it on the bed, a folding table, or the floor outside the closet. Everything.
Once the closet is empty, sort into four piles on the floor: Keep, Donate, Trash, and Relocate. Relocate is for items that belong somewhere else in the house entirely, a tool that wandered into the bedroom closet, guest towels stored in the wrong room. Mixing relocate into donate is one of the most common errors I see, and it means useful things leave the home when they should just move to a different room.
Do not overthink the Keep pile at this stage. If you are unsure about something, set it in a Maybe box and revisit it at the end. The goal of this step is to create a clear floor and shelf space so you can measure properly in the next step. I give myself a hard rule: if I am on the fence about an item for more than ten seconds, it goes in the Maybe box. Deliberating on individual pieces during the sort slows everything down and does not actually make better decisions. The Maybe revisit happens at the very end, when the closet is set up and the stakes feel lower.
Step 2: Measure the Shelves and Decide Your Bin Count
Before you order bins or start placing anything back in the closet, measure. Shelf depth, shelf width, and the vertical clearance between shelves. The IRIS USA 54-Qt bins are roughly 23.6 inches long, 16.1 inches wide, and 12.2 inches tall. A single bin will need at least 13 inches of vertical clearance with a lid on. If your shelves are closer than that, you either adjust the shelf positions or you move down to a smaller size bin.
Write down how many bins fit side-by-side on each shelf. On a standard 36-inch-wide closet shelf, you can fit one large bin per shelf with a little space to spare, or two bins if the shelf runs 48 inches or more. For tall closets with adjustable shelving, I often reconfigure shelf positions to maximize stacking height, fitting three bins in a vertical column where only two were possible before.
Do not skip the measuring step and eyeball it. Bins that do not fit properly end up angled, unstable, or blocking the door. One minute with a tape measure prevents a return trip to the store.
Step 3: Group Your Keep Items by Category Before Placing Anything
Now look at your Keep pile and group by category, not by item. The categories that show up in closets consistently are: seasonal clothing, extra bedding, off-season accessories, sentimental items, hobby supplies, and household backup stock. Every home has a version of these, though the labels shift.
Each category gets one bin. Not one box plus a plastic grocery bag plus a stray canvas tote. One clear bin with a lid. If a category fills more than one bin, it is a signal that either you have too much of that thing or it needs to be subdivided. I had a client with four bins worth of off-season accessories. We broke it into two bins and donated the rest. That conversation took ten minutes and freed up a full shelf.
Resist the urge to start placing items into bins at this stage. You are still deciding what goes where. Premature placing is the reason people end up opening every bin to find the one thing they need. Category grouping first, placement second.
Step 4: Load Bins by Use Frequency and Place Them at the Right Height
There is a rule I use on every job: what you reach for weekly goes at eye level or just below. What you reach for monthly goes on a middle shelf. What you reach for once or twice a year goes on the top shelf, stacked if needed. This sounds simple, but most people do the opposite. They put seasonal decor on the easy-access shelf and everyday items on the top shelf because they feel like they should use the prime real estate for storage.
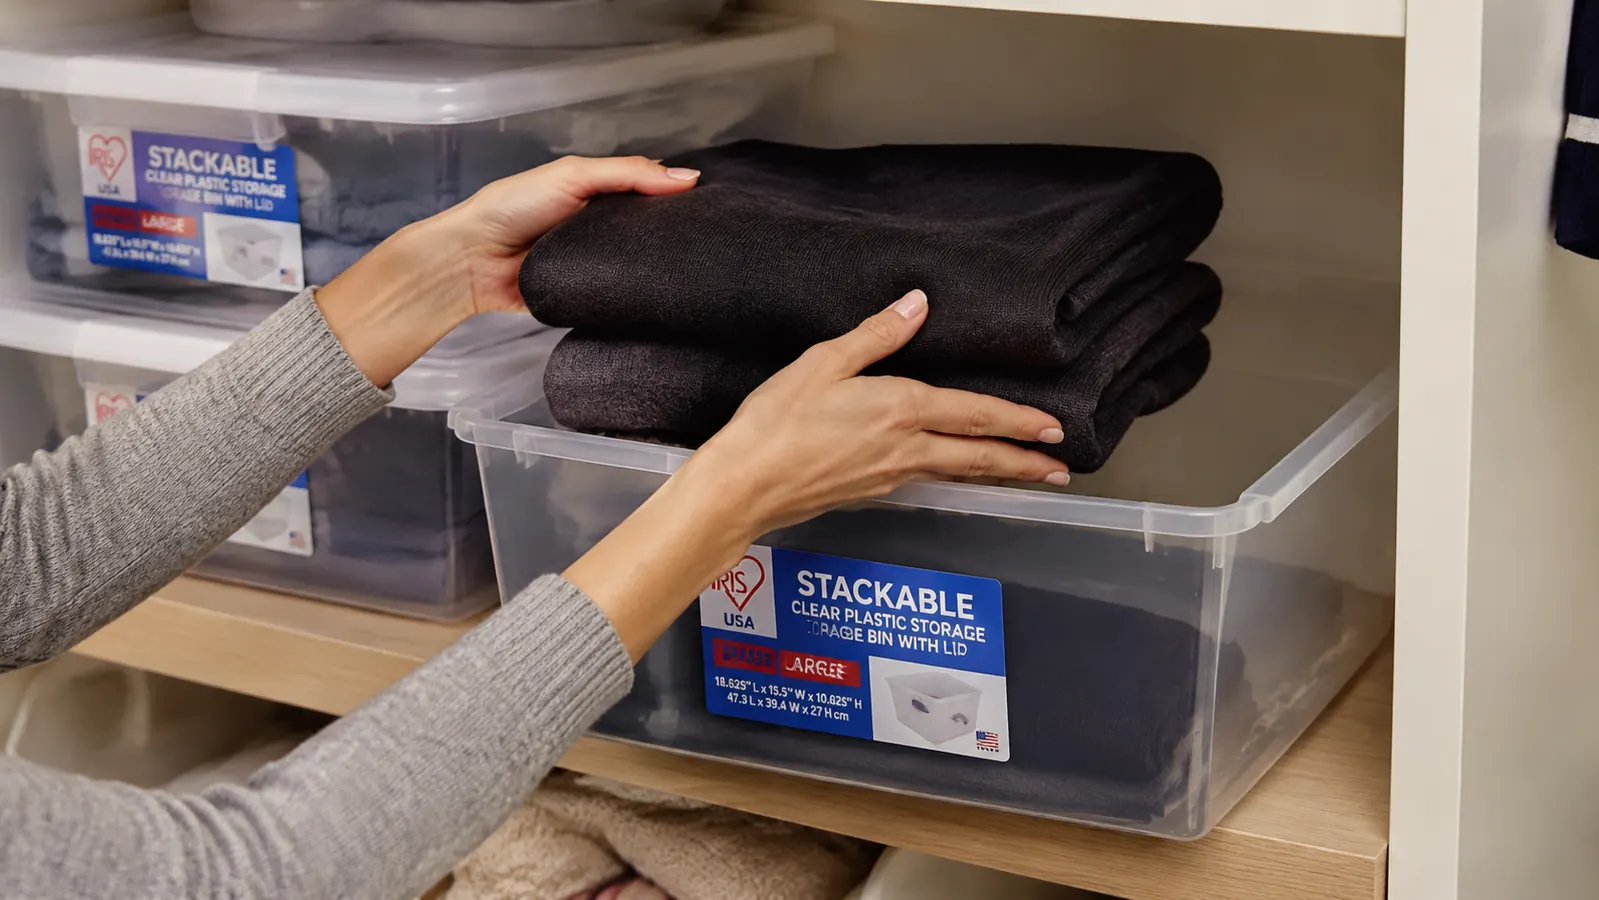
When loading the IRIS USA bins, fold textiles neatly rather than stuffing them. The bins are BPA-free clear plastic, so you will see the contents, and a bin full of wadded fabric looks disorganized even when it is technically sorted. Take two extra minutes to fold and the bin stays visually calm. Once loaded, press the lid down until it clicks all the way around the perimeter. A half-seated lid is what causes wobble when stacking.
Place the heaviest, densest bins on the bottom position of any stack. Extra blankets and winter coats go low. Lighter seasonal accessories go on top. A 54-quart bin filled with heavy bedding should not be the top bin in a three-high stack unless the shelf below it is at a comfortable height and unlikely to tip.
Step 5: Label Every Bin and Do a Two-Week Check-In
Labeling is the step that makes the system last beyond three months. Without labels, the bins stay organized for a couple of weeks while the layout is fresh in your mind, then they drift. Other people in the house cannot maintain a system they cannot read. I use white adhesive labels on the short end of each bin, written in black marker, simple category names. Winter Scarves. Extra Towels. Holiday Decor. Nothing fancy. Nothing that requires printing.
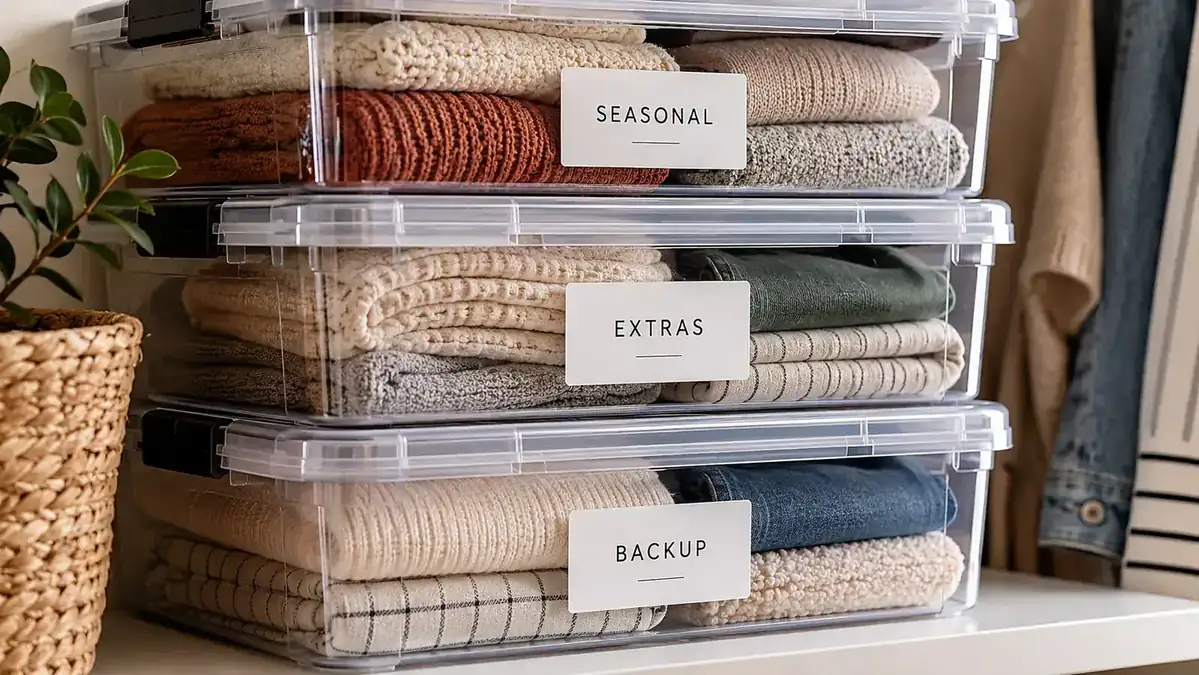
The label goes on the end that faces outward when the bin is on the shelf. Not the lid. Not the front long face. The narrow end that you can read without pulling the bin forward. This matters when bins are stacked three high and you need to identify the bottom one quickly.
Two weeks after the setup, open every bin and check two things. First, is everything still in its assigned category? Second, are there items on the closet floor or shelf that have no assigned bin yet? The two-week check catches the items you forgot about during the initial sort and gives you a chance to add a bin before the drift starts. Most clients find one or two items that need a home. That is normal, and it is better to catch it early.
If anything has already migrated out of its assigned bin, do not treat it as a failure. It means you found a category boundary that does not quite work. Adjust the label, split the bin if needed, or shift a category to a different container. A good system is one you can tune, not one that is supposed to be perfect on the first try. I have done follow-up visits with clients six months after setup and the systems that held best were the ones they tweaked slightly in the first month, then left alone.
What Else Helps
Stackable bins handle the bulk storage portion of a closet, but they are not the only tool. A few additions that make the system more complete: a door-mounted organizer for small items that do not deserve a full bin, a hanging divider for shelves that are deep enough to stack clothing but lack vertical separation, and slim shelf risers for creating two levels on a single wide shelf. None of these are required for the method to work. The five steps above are sufficient for most closets. But if you have a large walk-in or a closet shared by two people, adding a couple of these elements prevents the bins from carrying all the load. Think of the bins as the foundation. Everything else is finishing detail.
One thing I am honest about with clients: the IRIS USA bins are not perfect for every situation. If your closet shelves are very shallow, say less than 14 inches deep, a 54-quart bin will hang over the edge and feel unstable. In that case, a smaller bin in the same stackable family, or a different container entirely, is the right call. The goal is a system that fits the actual space, not the one you wish you had. For a full look at how these bins perform over time in real homes, see my detailed review at IRIS USA Storage Bins Review. And if you are still deciding whether stackable bins are the right tool for your specific closet situation, the breakdown at 10 Reasons Stackable Storage Bins Transform Closets walks through the scenarios where they help most.
The closet you can maintain on a Tuesday morning, half asleep and running late, is a better system than the perfect closet you can only maintain on a calm weekend.
Ready to get the bins that make the system work?
IRIS USA's 54-Qt stackable bins are rated by over 34,000 buyers and come as a 6-pack, enough to cover most reach-in closets in one order. BPA-free, clear-walled, and the lids stay on when stacked. This is the bin I use on professional jobs because it is the one that keeps working after I leave.
Amazon Check Today's Price on Amazon →