The entryway is the first room your household walks into and the first room they look at when they leave. When shoes are piled in a heap by the door, that visual noise sets a tone for the rest of the house before anyone has taken off their coat. In my 15 years as a professional home organizer, I have walked into thousands of entryways and closets, and the shoe situation is almost always the thing people apologize for first. A Kitsure shoe rack fixed it in more client homes than I can count, not because it is magical, but because it gives every pair a place, and that changes behavior faster than any label or bin.
Shoes are hard to manage because they are both everyday items and seasonal ones. The running shoes worn three times a week live alongside the dress shoes worn three times a year, and they all end up in the same pile. The method I am going to walk you through separates active pairs from overflow, puts the active pairs on a freestanding shoe rack within easy reach, and moves everything else out of the entryway entirely. It takes a Saturday morning. It lasts.
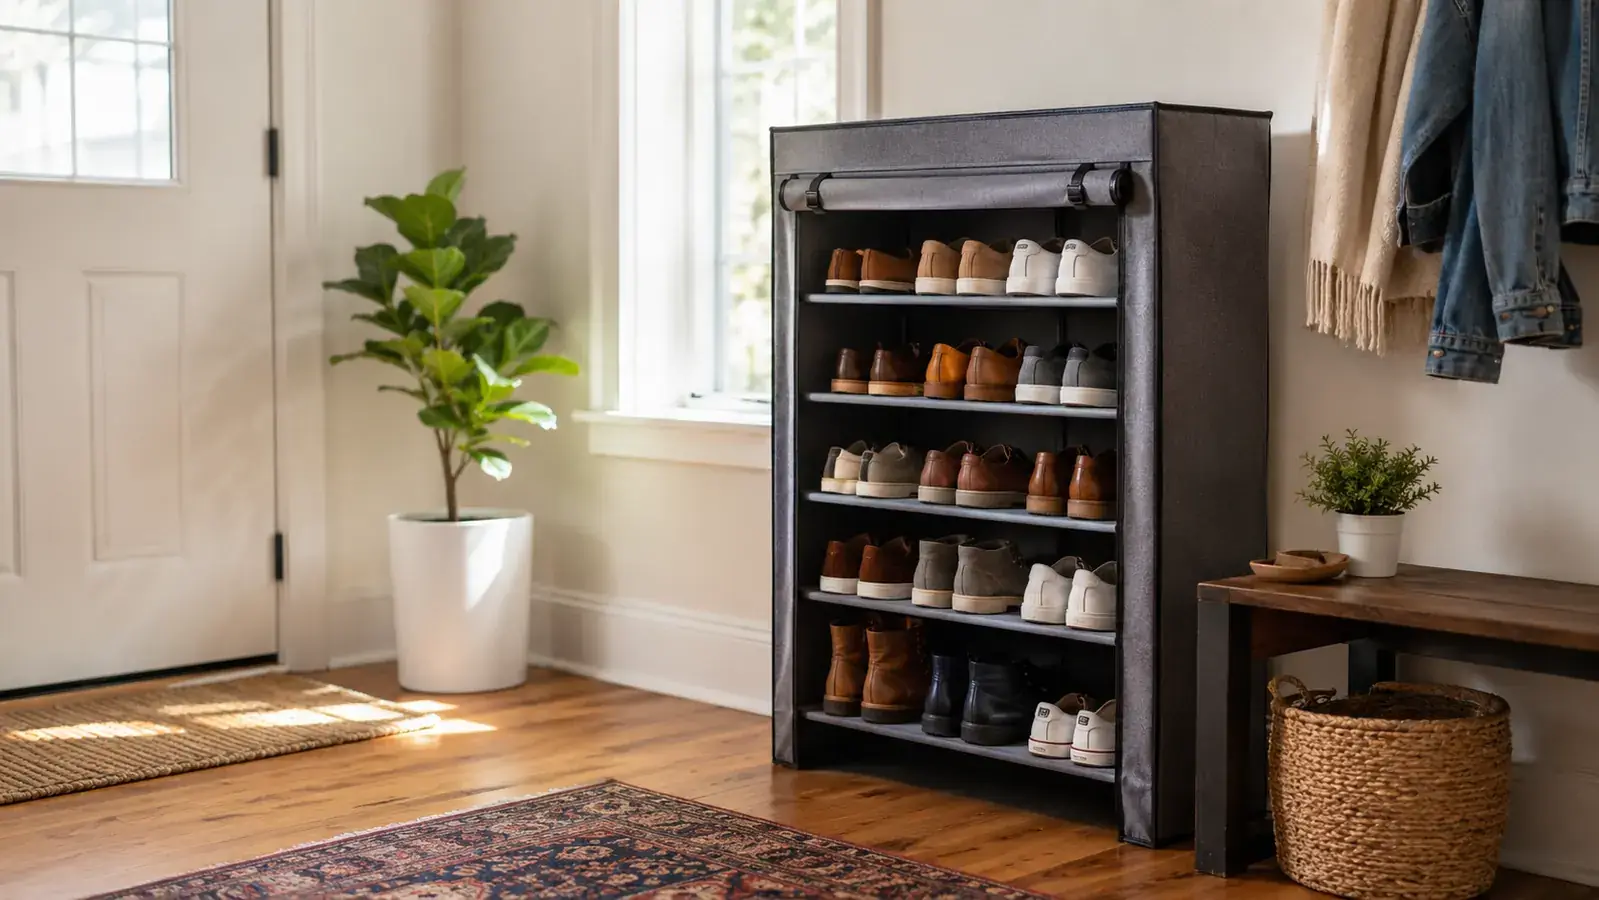
The rack I set up in almost every client entryway is this one. Simple, stable, and under $15.
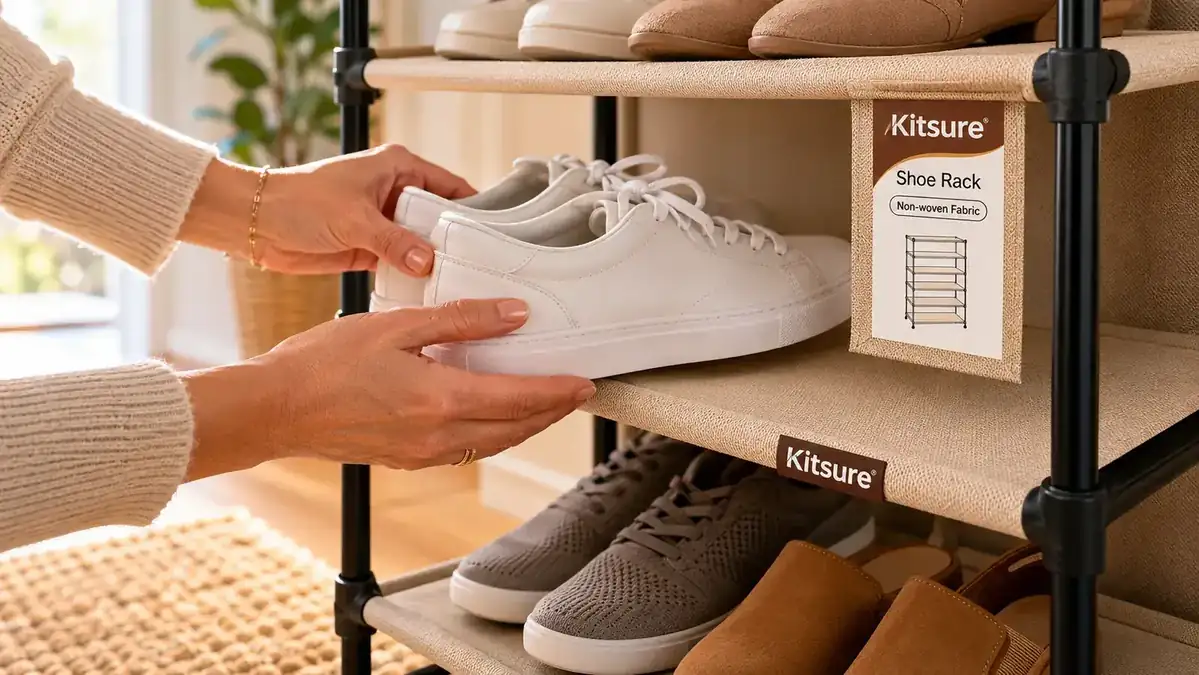
The Kitsure shoe rack is a non-woven freestanding organizer with multiple tiers that holds 8 to 12 pairs depending on size. It takes about 20 minutes to assemble, stays put on hardwood and tile, and looks tidy even when the shoes on it are not. I use it in entryways, bedroom closets, and mudrooms. The cover keeps dust off and makes the whole unit look intentional instead of temporary.
Amazon Check Today's Price on Amazon →Step 1: Pull Every Shoe Out and Count What You Are Actually Working With
Before anything goes onto a shoe rack, you need to know what you have. That means pulling every pair out of the entryway, every pair from the closet floor, any shoes tucked under beds or stacked in spare rooms, and making one honest pile. Most people are surprised by the count. A family of four routinely has 40 to 60 pairs of shoes across the house. A single person who considers themselves low-maintenance often has 20. Neither number is wrong, but you need to see it before you can decide what to do with it.
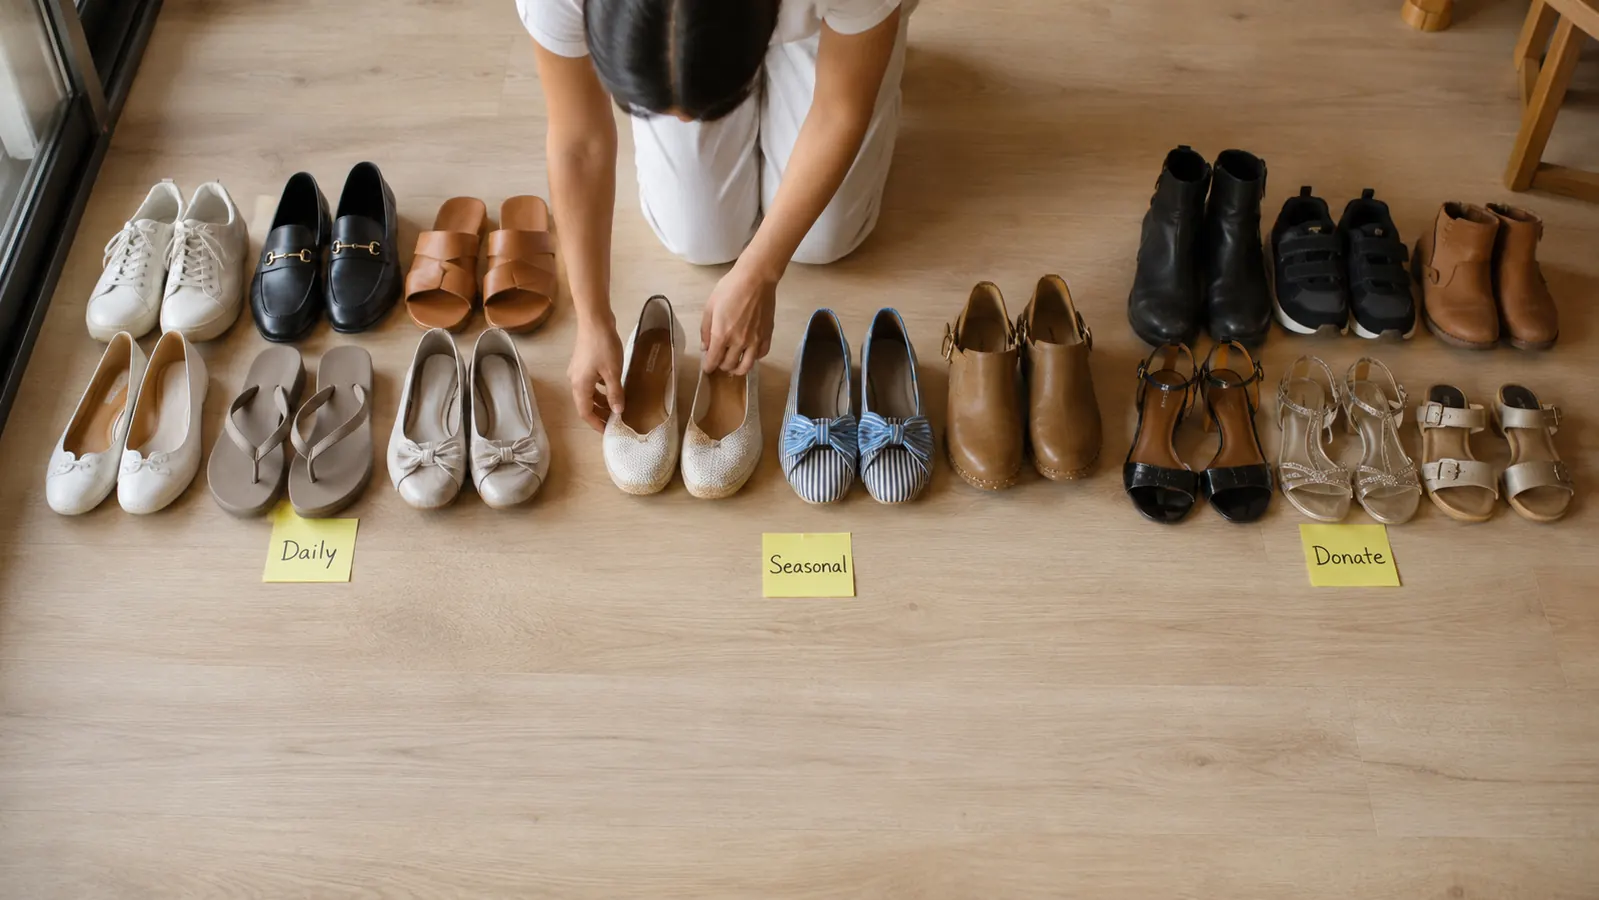
Once the pile is visible, sort into four groups: shoes worn at least once a week, shoes worn monthly or for specific occasions, shoes worn once a year or less, and shoes that no longer fit or are past their useful life. The fourth group leaves immediately. The third group goes into a labeled bin or box in a secondary storage spot, a high shelf, a closet in a spare room, or under the bed in a flat organizer. Those shoes do not belong in the entryway shoe rack, and freeing up that space is what makes the system work.
The daily and weekly-wear piles are what your shoe rack needs to hold. Count them. For most households, this is between 8 and 16 pairs. That number tells you how many tiers you need and whether one freestanding shoe rack is enough or whether you need a second unit in a bedroom closet. Knowing this before you buy anything saves you a second trip.
Step 2: Decide Where the Shoe Rack Lives
Placement is the step most people skip, and it is the reason the system falls apart. A shoe rack tucked in a corner nobody passes does not get used. The rack needs to live within two steps of where shoes actually come off. For most entryways, that is just inside the front door, along a wall or in a nook beside it. For apartments without a true entryway, it is often inside the bedroom closet or at the closet door threshold. The location should feel like the obvious place to drop a pair, not a detour.
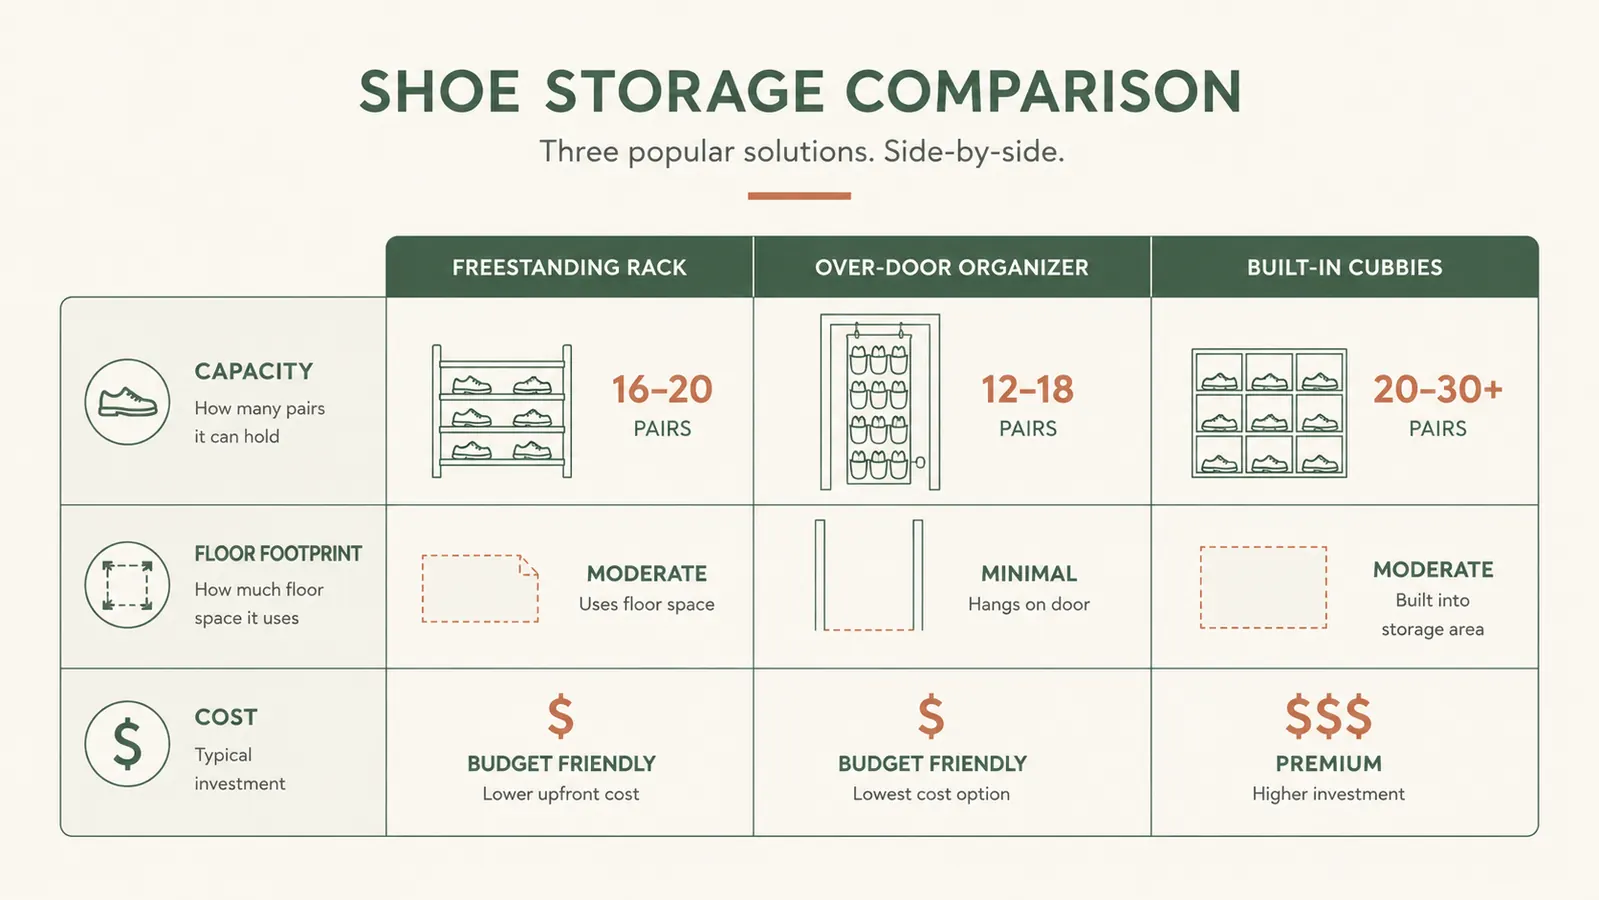
Measure before you place. The Kitsure shoe rack has a smaller footprint than most people expect, which is one of the reasons I reach for it first in tight entryways. But even so, you want to leave a clear walking path. A good rule is to keep at least 28 inches of clear floor between the rack and the opposite wall so the space does not feel squeezed. If your entryway is narrower than that, a closet placement or an over-door option may serve you better.
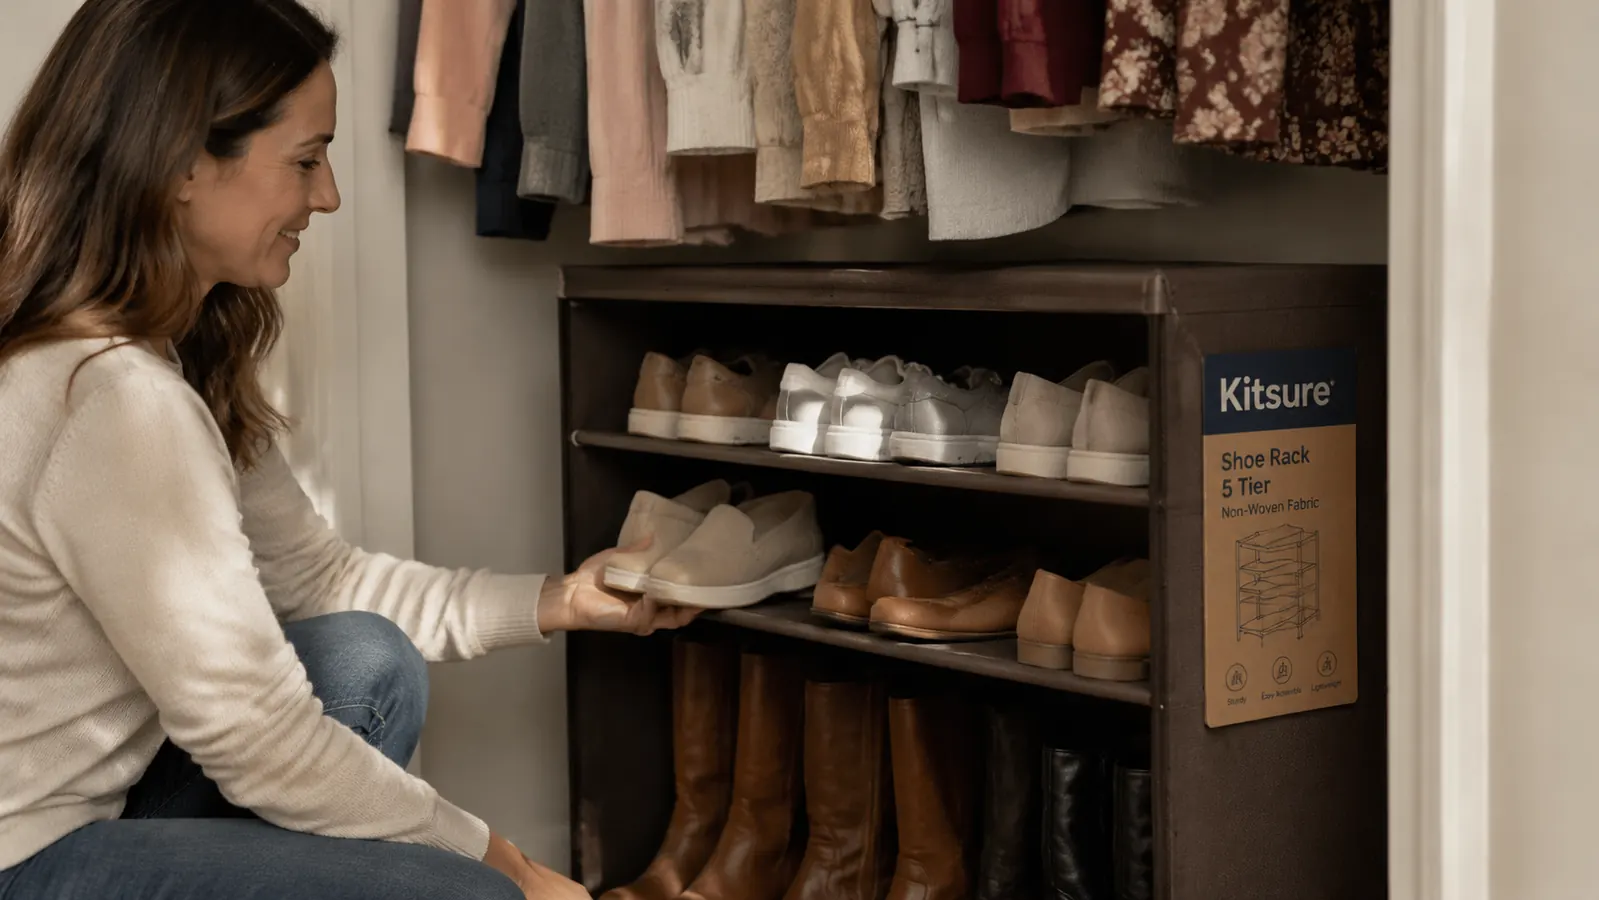
If you are placing the rack in a closet, put it along the back wall or a side wall where it does not block the door swing. I often set it at the end of the hanging rod zone, in the dead space where nothing hangs. That dead space becomes one of the most useful spots in the closet once a shoe rack is standing there. Boots go on the bottom tier, everyday flats and sneakers go in the middle, and lighter seasonal pairs or kids shoes go on top.
Step 3: Assemble the Shoe Rack and Set the Tier Heights
The Kitsure shoe rack goes together with connector rods and a fabric sleeve that slides over the frame. Read the instructions once before you start, then set the poles out in order. The assembly is straightforward, roughly 20 minutes for a five-tier unit, and the frame is stable enough that it does not wobble once the sleeve is fitted. I keep a rubber mallet nearby to press connectors fully home, though finger pressure usually does the job.
One adjustment I always make: I leave the bottom tier a few inches higher than the default if the household has large boots. The standard spacing fits sneakers and flats perfectly but can be tight for tall boots, which end up leaning awkwardly. Some people fold tall boots over a rolled magazine or a pool noodle cut to size so they sit neatly on the shelf without flopping. It sounds minor, but a boot that is lying on its side makes the whole rack look chaotic even when everything else is tidy.
Once assembled, place the rack in its spot before you put any shoes on it. Check the door clearance, the walking path, and whether it is level. On uneven floors, small felt pads under the feet keep the unit from rocking. Then load the shoes starting from the bottom tier so the heavier, bulkier pairs go low and the lighter pairs sit higher. That weight distribution keeps the rack from leaning forward over time.
Step 4: Load the Rack by Household Member and Frequency
Do not load the shoe rack randomly. Organize by person and by how often each pair gets worn. In family entryways, I give each household member one to two dedicated tiers or a designated section within a tier. Children's shoes go on a tier they can reach without stretching, usually the second or third tier up. Adult daily pairs go at the same level. Guests and overflow are not on the rack at all.
The reason to assign spots by person rather than by type is that it creates ownership. When your kids know the second tier is their tier, they know exactly where to put their shoes when they come in. That self-maintenance is the goal of any organization system. Without assigned spots, the rack becomes a communal pile with better posture, which is not much of an improvement.
For single or dual-person households, organize by frequency instead. Front of each tier holds the pairs worn most often, back of each tier holds the backup pairs. I also rotate seasonally, swapping summer sandals to a bin in the closet when fall arrives and pulling them back out in spring. The shoe rack itself stays consistent year-round, it is just the pairs on it that change with the season.
Step 5: Build the Habit Loop That Keeps the System Running
An organized entryway stays organized only if putting shoes away feels easier than leaving them on the floor. That is a design problem before it is a discipline problem. The rack needs to be within arm's reach of where shoes come off, the tiers need to be at a comfortable height so bending down is not required for the pairs used most, and there needs to be room on every tier so shoes can go in without nudging other pairs out of place. If any of those conditions are not met, people will default to the floor.
The rack needs to live within two steps of where shoes actually come off. If it is a detour, it will not be used. Placement is the step most people skip, and it is the reason the system falls apart two weeks later.
The first week after setup, walk through the entryway with whoever else lives in the house and show them where each pair goes. Not in a lecture-the-family way, just a casual walkthrough. Point out where the kids' pairs go, show where the guest shoes will live temporarily, and explain that anything not on the rack gets moved back to the rack at the end of the day. A 30-second tidy at the end of the evening is all the maintenance this system needs if it was set up correctly.
If you find the rack getting overcrowded within a week, that is a sign you kept too many pairs in the active rotation. Go back to your overflow bin and ask honestly whether any of those pairs belong in a donate pile. A shoe rack that has room to breathe stays tidy. One that is jammed to capacity devolves into a pile with extra steps.
What Else Helps
A shoe rack does most of the heavy lifting, but a few supporting elements make the system more complete. A small boot tray placed below or beside the rack catches wet, muddy, or snowy shoes that should not go on fabric shelves until they are dry. This is especially useful in winter months or households with kids who come in from playing outside. A low bench or stool near the rack also helps because people are significantly more likely to take their shoes off and put them away when they have somewhere to sit while doing it. These are not requirements, but they close the gaps where the system can break down.
For closet placements, a clear over-door pocket organizer can hold the narrow shoes that fall between tiers, flip flops, sandals, and slippers. These work well as an add-on to the freestanding rack rather than a replacement for it. And if you have more seasonal overflow than a single bin handles, a shallow flat-lid storage box under the bed holds shoes without taking floor space you need.
Ready to give every pair a home? The Kitsure shoe rack is the one I set up in client entryways first.
It is a non-woven covered freestanding shoe organizer that holds 8 to 12 pairs, assembles in about 20 minutes, and stays tidy in entryways, mudrooms, and bedroom closets. If you have been tolerating a shoe pile by the door, this is the fix. Check current availability and sizing options on Amazon.
Amazon Check Today's Price on Amazon →